
ChatFX Avatar: getting started.
From sign-up to your agent's first call with a face, in six short steps.
Create your account.
Every account starts free with 10 minutes and one custom avatar. No card needed.
Open the sign-up page
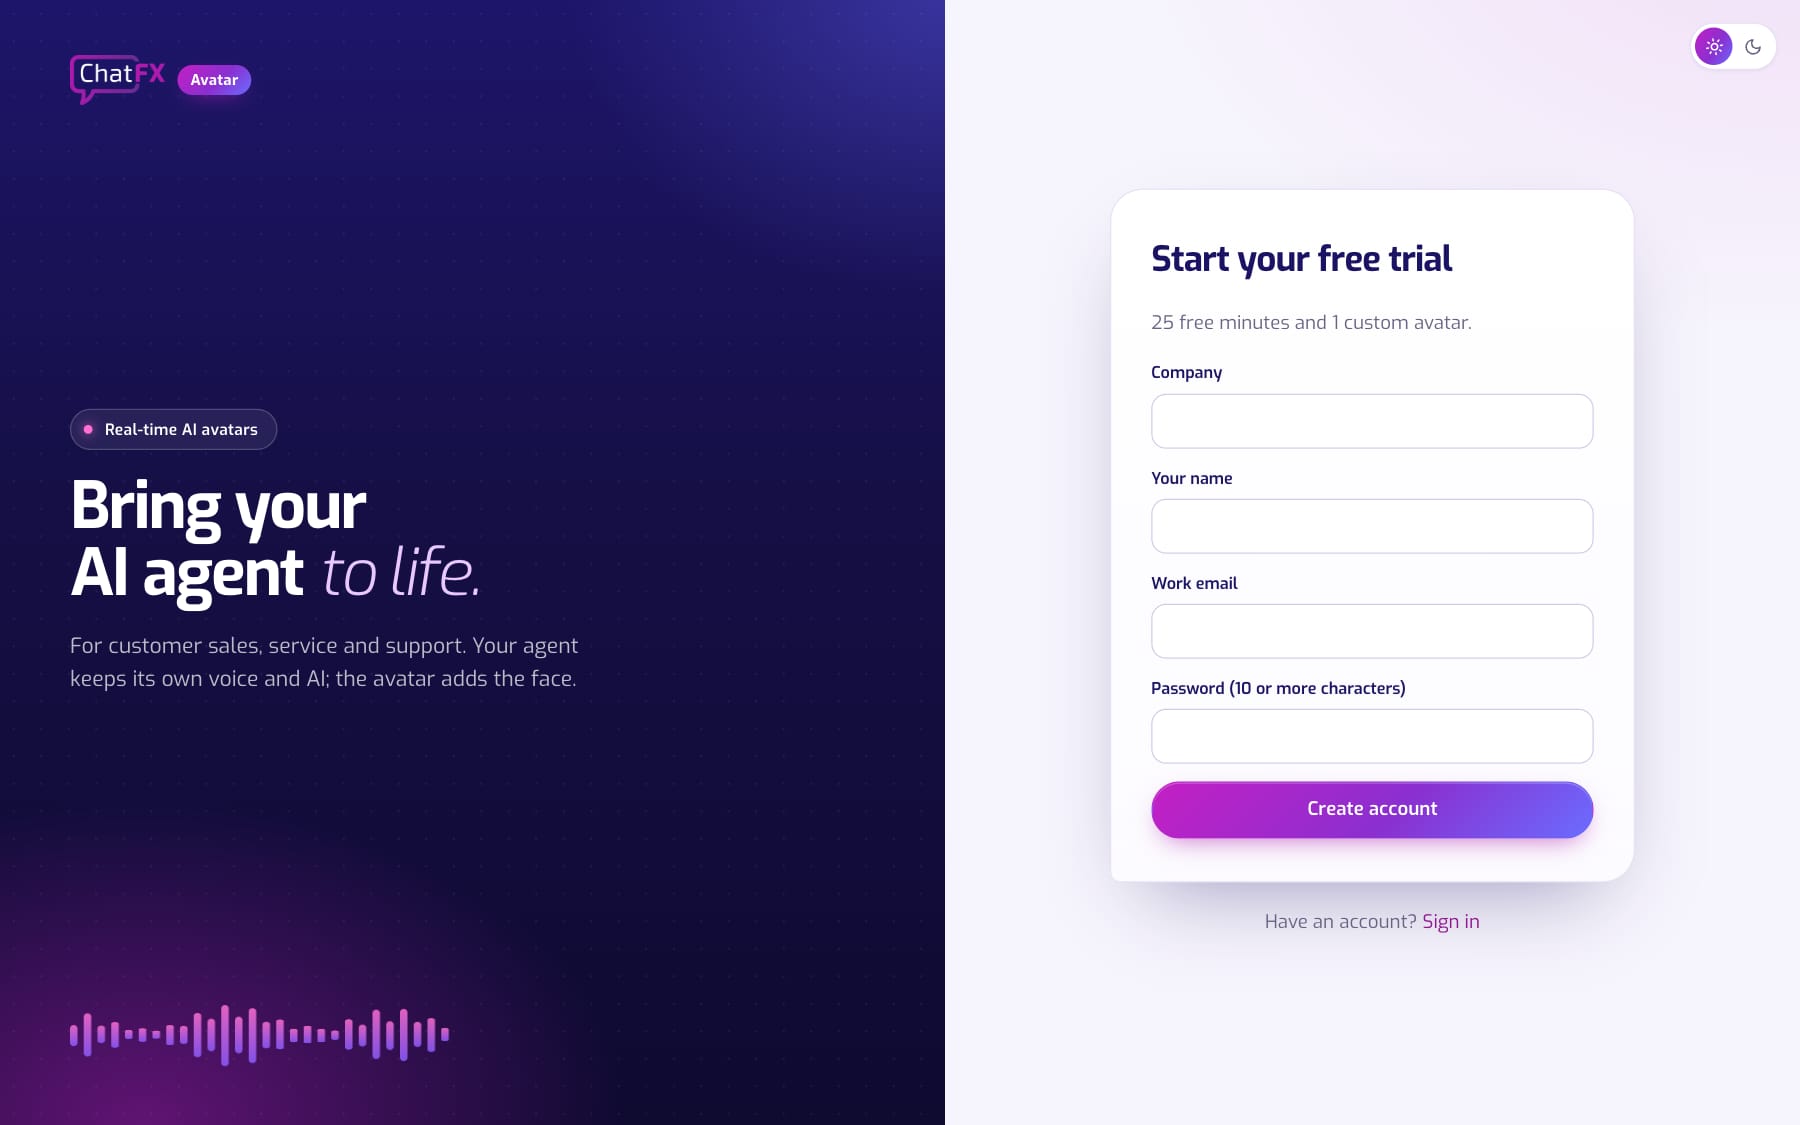
Go to avatar.chatfx.com and choose to create an account. Enter your company, your name, your work email and a password of 10 or more characters, then click Create account.
Confirm your email
We send you a link from service@chatfx.com. Click it and you're signed in. The link works once, so ask for a new one if it's old.
Find your way around.
Five pages in the menu on the left, plus Help.
Avatars
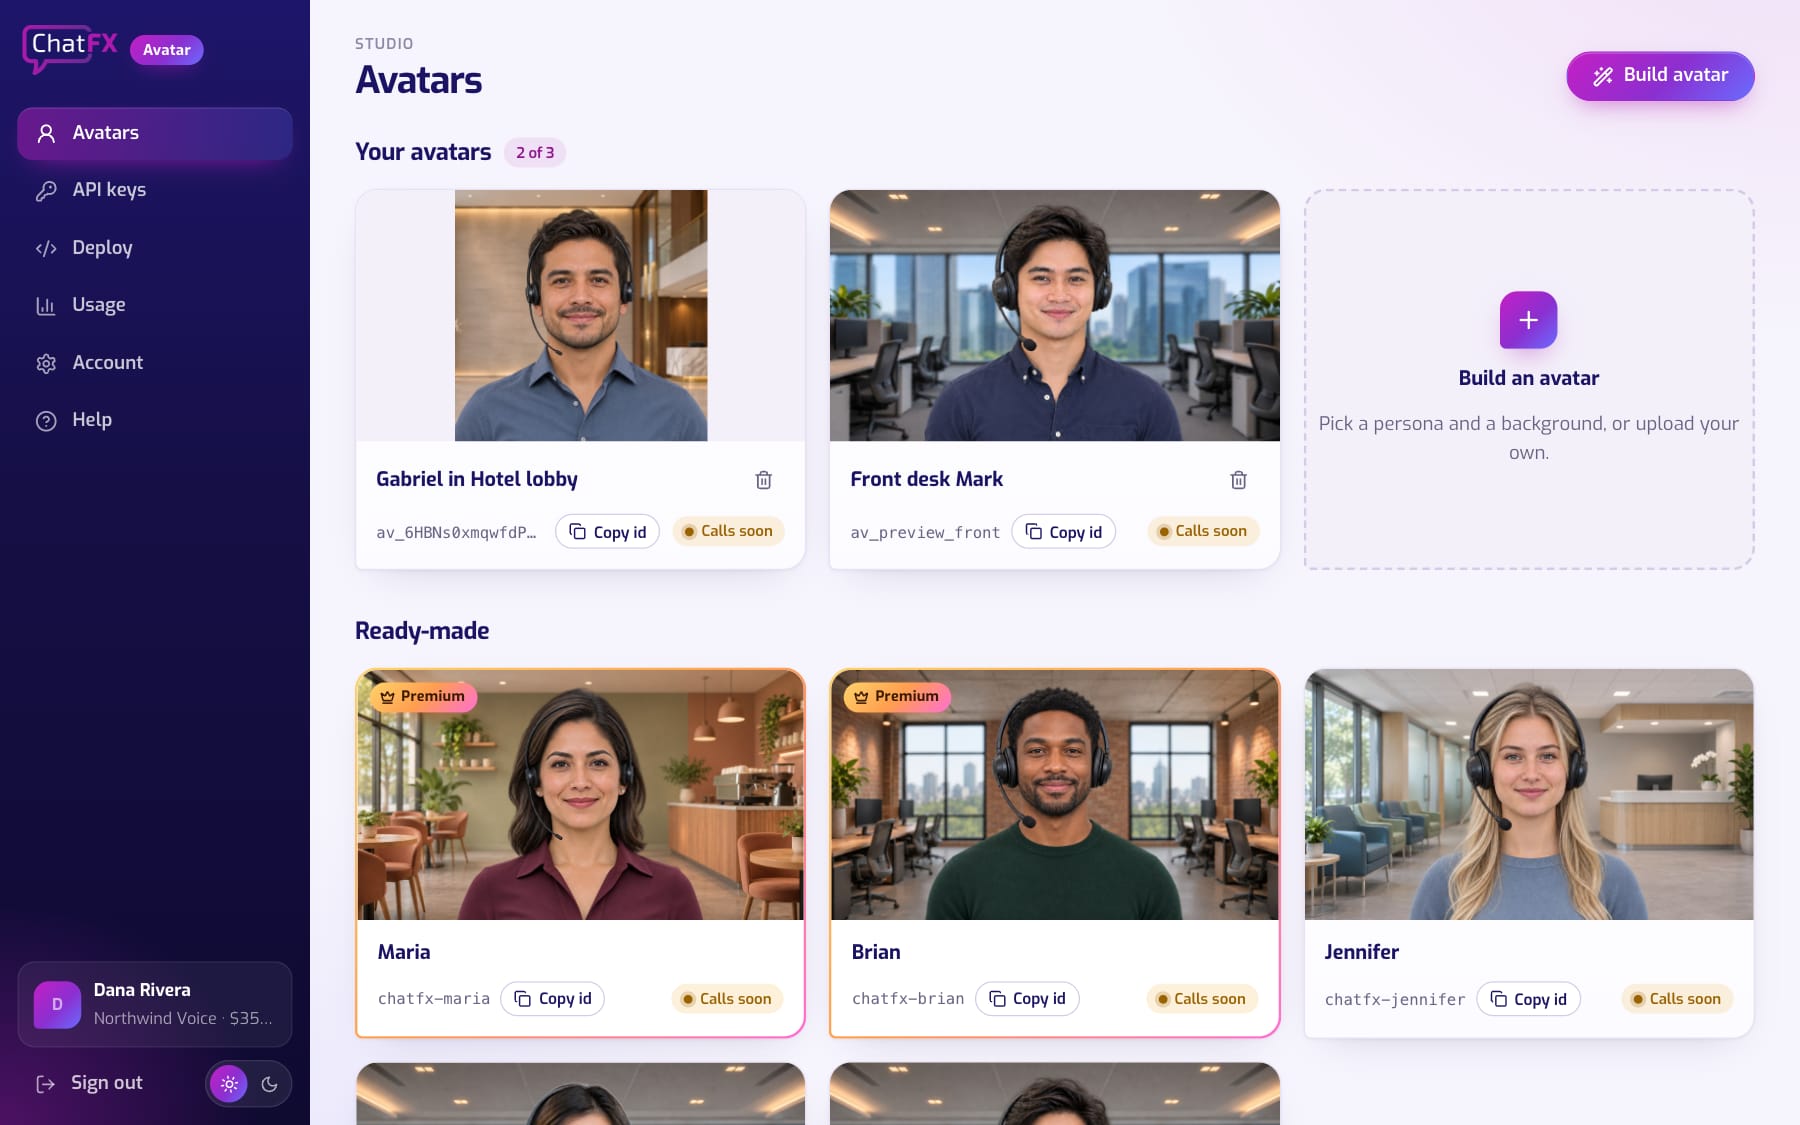
Your own avatars at the top and ready-made ones below, each with its id to copy. A tag on each one says whether it's ready for calls.
API keys, Deploy, Usage and Account
API keys holds the keys your agent uses. Deploy has the code and a step-by-step guide. Usage shows your minutes and latest calls. Account has your company, profile, password, two-step sign-in and team.
Pick or build an avatar.
Start with a ready-made avatar, or build your own from a person and a background.
Use a ready-made avatar
Ready-made avatars are free on every plan. Click Copy id under the one you like. Premium ones, with the gold frame, come with the $35 plan and up.
Or build your own
Click Build avatar, drag a person and a background onto the stage, or drop your own photos. Building avatars walks through every option.
Create an API key.
Your agent sends the key with each request. Make one for each place your agent runs.
Create it
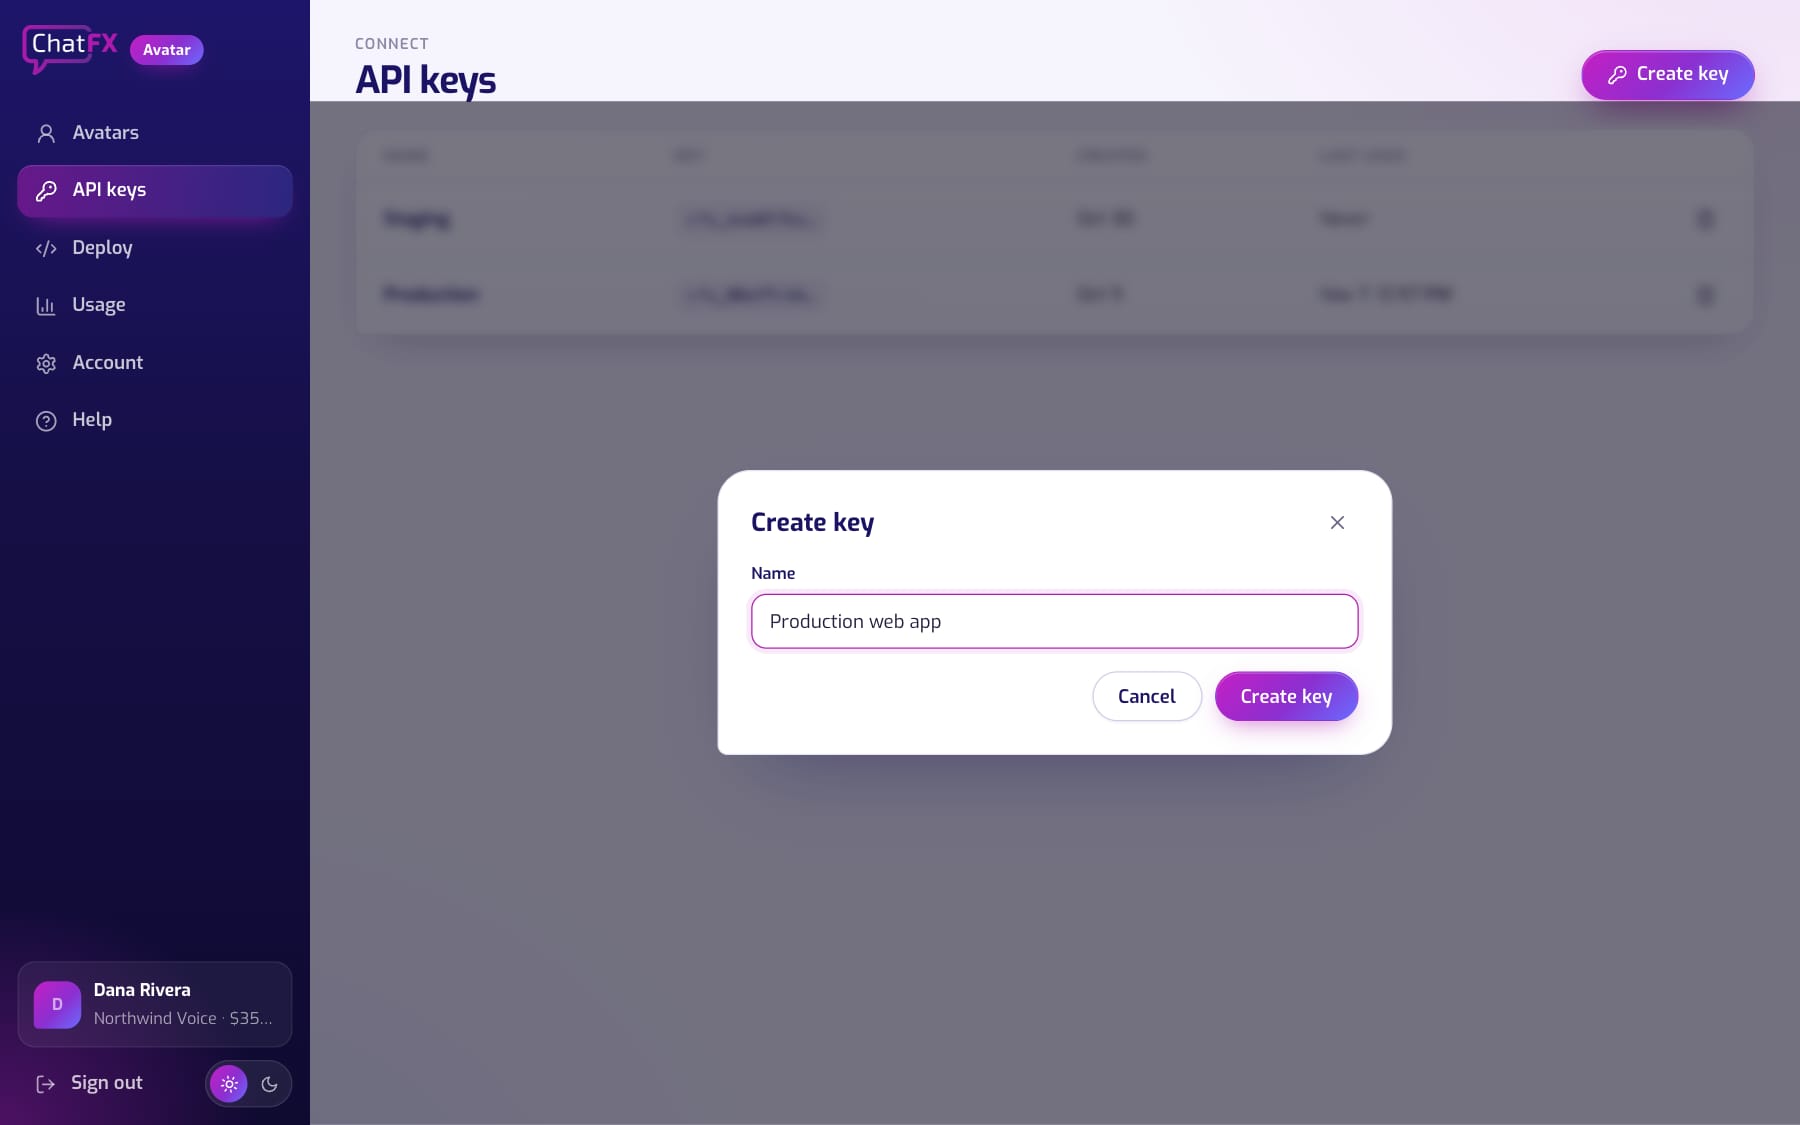
Open API keys and click Create key. Name it after where it will run, for example Production, and click Create key.
Copy it right away
The key is shown once, so copy it now. Afterwards the list shows only its name and first characters.
What to do with your key
Your key works like a password for your voice agent. Add it where your agent keeps its settings, named exactly CHATFX_AVATAR_API_KEY: your agent's secrets at LiveKit, your Pipecat bot's environment, or your web server's environment variables. It's read from there each time a call starts.
Connect your agent.
The avatar joins your agent's call and speaks with your agent's voice.
Open Deploy
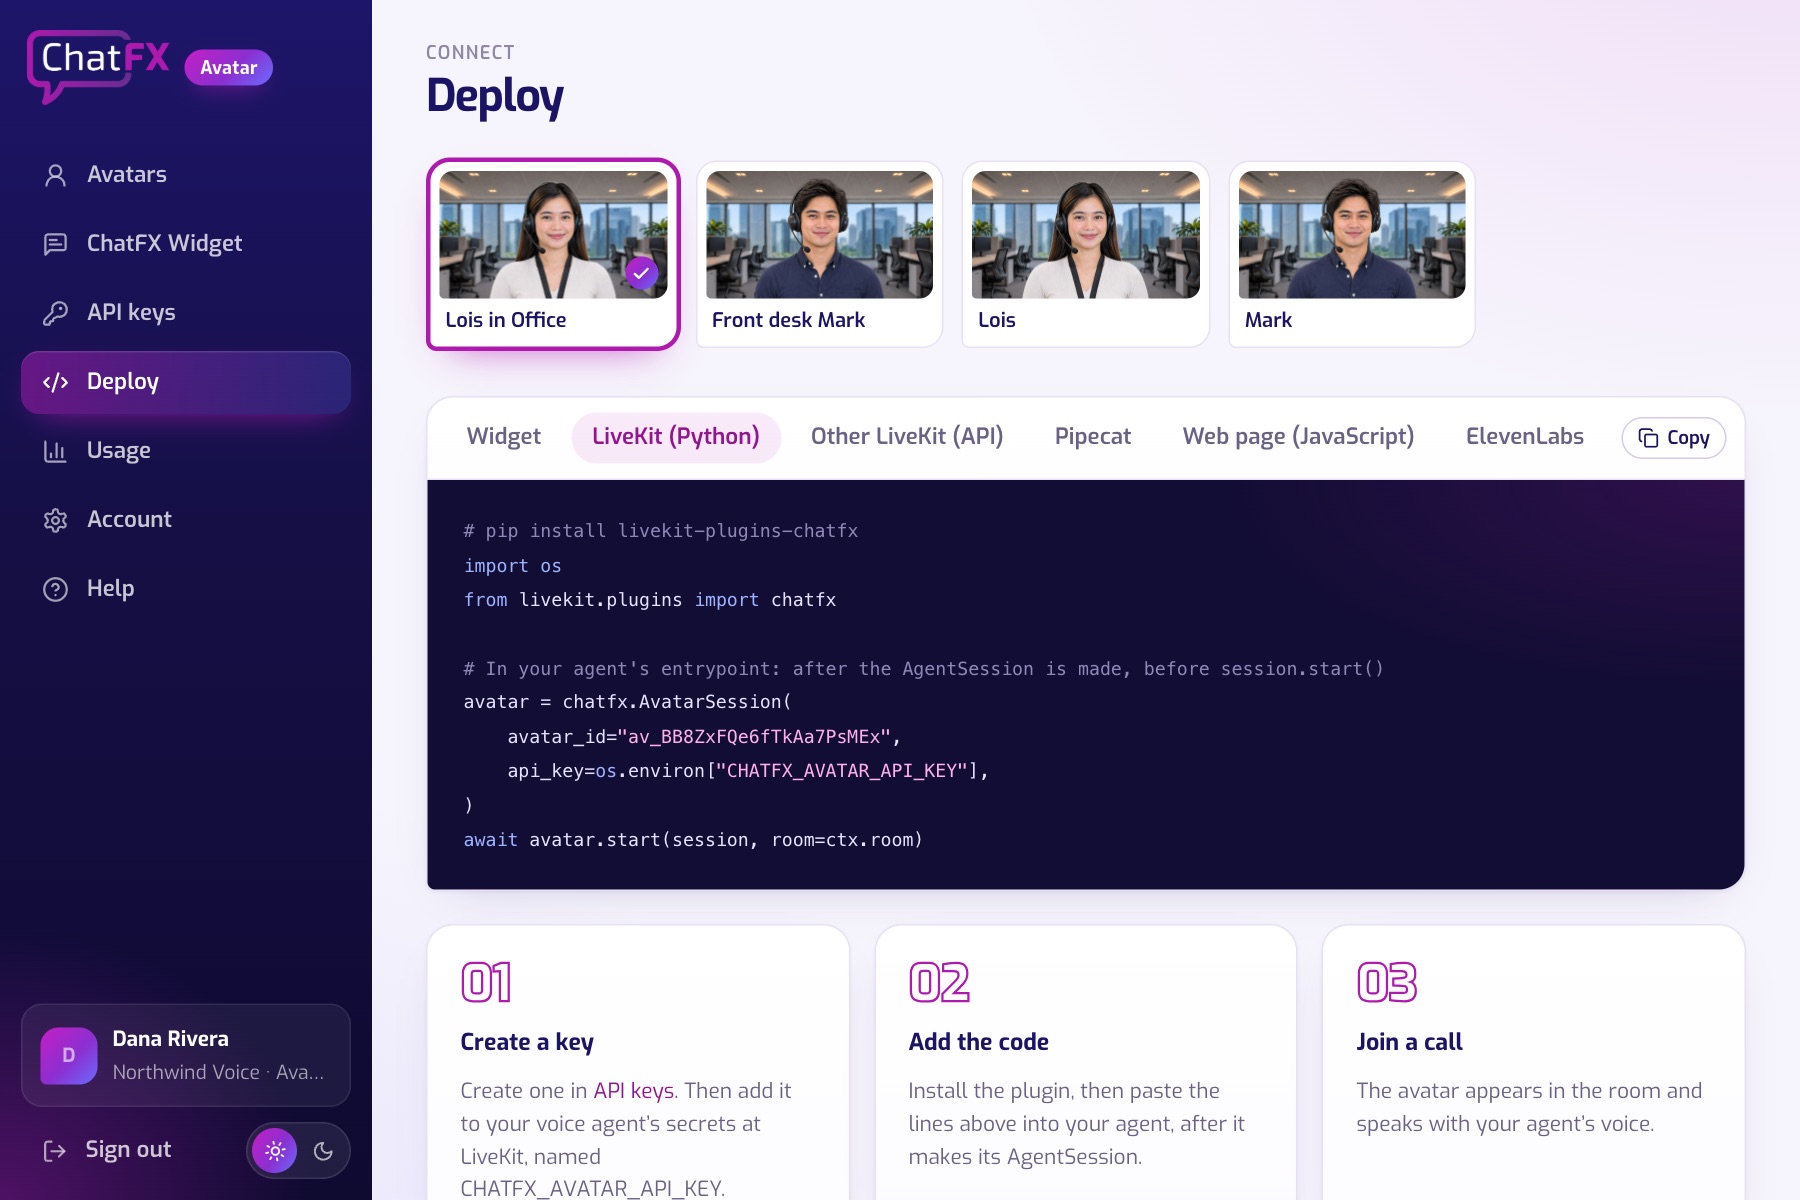
Pick your avatar at the top, then how your agent is built: LiveKit (Python), other LiveKit apps (API), Pipecat, a web page (JavaScript) or ElevenLabs. The code below fills in your avatar's id.
Follow the steps
Under the code, Step by step explains each part. Connecting your agent has the same detail, with every answer the API can give.
Try your first call.
Join one of your agent's rooms, and the avatar joins a few seconds after your agent.
See your minutes
Usage shows each call's length a minute after it ends, and how many of your minutes are left.